
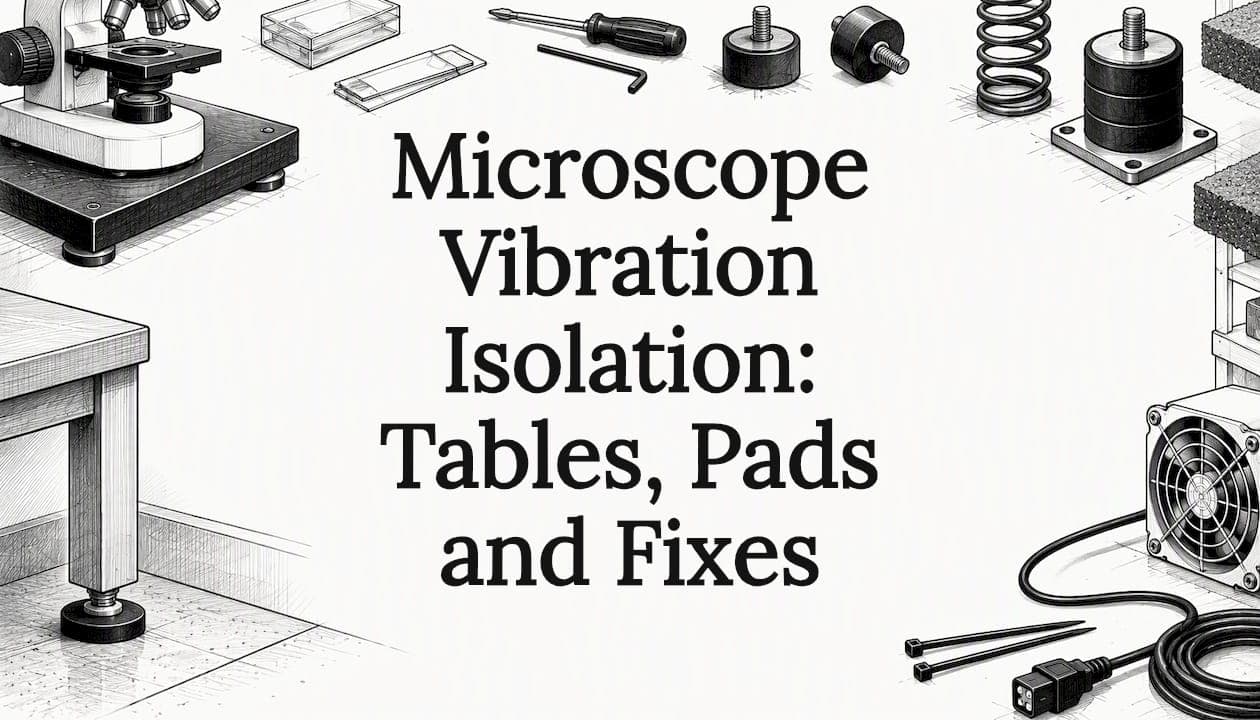
If your image shimmers when someone walks past, you have a vibration problem, and you can usually reduce it without buying a lab-grade platform. Start with the bench: a heavy, rigid surface on a solid floor, away from doors, fans and foot traffic. Add a damping pad for classroom and home work. Move to an air table or active platform only when your work demands it, such as high-resolution imaging or long exposures.
This guide explains what vibration does to an image, how passive and active isolation differ, what an anti-vibration pad can and cannot do, and how to match the fix to your setting.
TL;DR
- Vibration blurs fine detail and makes focusing frustrating, especially at high power and when you attach a camera or smartphone.
- Fix the location first: a rigid, heavy bench, a ground-floor or low-traffic room, and no fans or pumps touching the table.
- A damping pad helps with small, high-frequency tremors. It does not cure slow floor sway.
- Air tables and active platforms are for sensitive imaging. Passive air systems can even amplify vibration near their own resonant frequency.
- Handle the microscope gently: use the fine focus, hold the stage controls lightly, and trigger the camera without touching it.
Table of Contents
- What vibration does to a microscope image
- Where vibration comes from
- Start with the room and the bench
- Passive, active and hybrid isolation
- Do anti-vibration pads work?
- A step-by-step test for your own setup
- Habits that reduce vibration at the eyepiece
- How much isolation do professional labs plan for?
- Our view: stable images start with a good instrument and a calm setup
- Choosing a microscope that is easier to keep steady
- FAQ
- Sources
What vibration does to a microscope image
A microscope magnifies the specimen, and it magnifies motion by the same amount. At 40× a tremor you cannot feel in your hand can move the image across a meaningful part of the field. At 1000× the same tremor makes detail unreadable.
A review of isolation approaches for biophysics notes that ambient vibration limits the resolution of microscopes of all types, and that the problem grows as acquisition times get longer and imaged features get smaller. You do not need a research instrument to see the effect. Three symptoms show up in ordinary classrooms and home setups:
- Shimmer or wobble. The image moves slightly and settles after a few seconds. This is typical of footsteps or a bench that flexes.
- Soft detail that will not sharpen. You focus, but fine structure stays smeared. Constant background vibration from a fan, a refrigerator or a nearby machine is a common cause.
- Blurred photos. The eye tolerates small motion, but a camera or smartphone adapter captures it. Photos of a slide often look worse than the view through the eyepiece.
Before you blame the building, rule out the instrument itself. A loose stage clamp, a worn focus knob or a slide that is not seated can mimic vibration. Our guide to the mechanical stage in 7 steps covers how to check that your slide holder and stage controls are tight and smooth.
Where vibration comes from
Two sources matter, and they need different fixes.
Floor-borne vibration. Footsteps, doors, elevators, nearby roads and building mechanical systems send energy through the floor into the table. Microscopy Today describes an isolated microscope setup as an extension of the building design itself, which means the floor structure, traffic patterns and the position of HVAC equipment all matter before you choose any platform.
Direct and on-board vibration. You and your equipment cause these. Leaning on the bench, tapping the table, a lamp fan, a power supply or a pump attached to the instrument all add motion. Research on a high-end electron microscope facility points out that peripheral components such as pumps, fans and cables can be decoupled from the microscope to protect performance. The same principle works at your desk: keep fans and transformers off the surface the microscope sits on, and let cables hang loosely rather than pulling on the base.

Start with the room and the bench
Isolation hardware cannot fully compensate for a poor location. Spend ten minutes on these checks first. They cost nothing.
- Choose the floor. A ground-floor room or one over a concrete slab moves less than an upper floor with wooden joists. Rooms over a corridor, stairwell or mechanical room are worse.
- Move away from traffic. Place the microscope in a corner or along a wall, away from doors and the main walking route.
- Pick a rigid, heavy surface. Guidance on facility design for electron microscopes recommends rigid, mass-heavy tables, such as stone or steel tops, structurally separated from the building floor for the most demanding work. A thin folding table does the opposite: it flexes and rings.
- Check for wobble. Press on each corner of the table. If it rocks, level the legs or shim them. A table that moves under light pressure will move under footsteps.
- Separate sources. Move lamps with fans, chargers and laptops off the microscope surface when you can.
- Schedule around noise. In a school, avoid imaging during class changes. At home, avoid running the washing machine or dryer on the same floor.
A heavy lab table is not automatically enough for demanding work. The NIH guidance above is about electron microscopes, but the logic carries over: mass and rigidity help, and isolation from the main floor slab matters when you need the best results.
A manufacturer manual for a sensitive ultramicrotome shows the same thinking at a smaller scale. It says the instrument has its own built-in anti-vibration system and still recommends masonry laboratory tables, such as tiled chemistry tables, over standard lab tables.
Passive, active and hybrid isolation
Once the room is as good as it gets, you can add isolation. The three families work differently.
Passive isolation
Passive systems use mass, springs and damping with no electronics. Common elements include rubber or foam pads, metal springs and air springs. Instrument makers use these too: a 2026 review of vibration isolation for transmission and scanning transmission electron microscopes notes that S/TEM manufacturers rely on springs, rubber dampers or air springs in passive isolation systems.
Passive isolation is quiet, needs no power and requires little maintenance. Its weakness is low frequency. Technical resources from vibration control specialists describe passive systems as strong at high frequencies but weak below about 10 Hz, where they can even amplify vibration. A review of isolation approaches for biophysics adds that passive air tables can amplify vibration at their own resonant frequency, typically around 1 to 3 Hz.
Active isolation
Active systems add sensors and electronic feedback that push back against measured motion. One manufacturer's data sheet for an active air platform describes damped rolling diaphragms with a natural frequency near 2 Hz, and up to 99% reduction of floor vibration above 6 Hz, with a load capacity around 100 kg (about 220 lb). Those figures are a vendor's specifications and not a guarantee for your room. They show the class of performance that active systems aim for.
Hybrid isolation
Some researchers combine a passive pneumatic stage with an active piezoelectric stage. A paper in the Review of Scientific Instruments describes this hybrid approach: the passive part handles broad high-frequency attenuation, and the active part suppresses the low-frequency noise that passive systems struggle with.
Which one fits you
| Setting | Typical problem | Sensible first step | When to go further |
|---|---|---|---|
| Classroom, 40× to 400× | Footsteps, shared benches | Heavy bench, damping pads, gentle handling | Rarely needed |
| Home hobbyist, up to 1000× | Shaky floor, fans, camera blur | Move to a low-traffic room, add a pad under the base, use a remote or timer for photos | Heavy slab (stone or concrete) under a pad |
| Teaching or core lab with imaging | Building vibration, long exposures | Mass-heavy table in a quiet room | Passive air table |
| High-resolution or nanometer-scale imaging | Low-frequency floor motion | Site survey of the room | Active or hybrid platform |
Most readers of this guide sit in the first two rows. For them, a platform costing thousands of dollars solves a problem they probably do not have.
Do anti-vibration pads work?
Yes, within limits. Pads made of damping rubber or foam are sold for laboratory equipment such as shakers and microscopes, and they are cheap, portable and non-slip. They work best on high-frequency, small-amplitude vibration: the buzz from a nearby motor or the light tap of a keyboard on a shared desk.
They work poorly on slow, large movements. If the whole floor sways when someone walks by, a pad on a flexible table moves with it. A soft pad can even make a light microscope feel less stable if the base sits on a springy surface. Follow these rules:
- Match the pad to the load. A pad that is too soft for the weight bottoms out and does nothing. One that is too stiff does not damp. Check the maker's weight range.
- Put a heavy slab between the pad and the table if you can. A stone, granite or thick-composite slab adds mass, which lowers the response to small disturbances.
- Keep the stack simple. Table, pad, slab (optional), microscope. Avoid layers of soft material that let the instrument rock.
- Do not tilt the instrument. Check that the microscope sits level and does not rock on its feet. Rubber feet that do not touch the surface are a common cause of instability.
- Test before you buy more. Look at a fine specimen at your highest power, tap the table gently, and note how long the image takes to settle. Repeat after each change.
A step-by-step test for your own setup
You do not need a vibration meter to compare changes. Use the microscope as the sensor.
- Load a slide with fine, high-contrast detail, such as a stained section or a ruled or printed pattern.
- Focus at your highest objective, then set the illumination so the image is bright and clear. Our Köhler setup workflow is a good reference for getting contrast right before you judge sharpness.
- Observe for one minute with nobody moving in the room. Note any drift or shimmer.
- Have a colleague walk past at a normal pace. Note how much the image moves and how long it takes to settle.
- Tap the bench lightly a foot from the microscope. Note the response.
- Make one change, such as a pad, a different table or a new position, and repeat steps 3 to 5.
- Record the result in a simple log: date, location, change, and a rating from 1 to 5.
Change one thing at a time. Otherwise you will not know which fix worked.
Habits that reduce vibration at the eyepiece
Hardware is only part of the solution. Technique accounts for a large share of the difference.
- Use fine focus at high power. Coarse focus moves the stage in larger steps and transmits more motion through your hand.
- Rest your forearms on the bench, not on the microscope. Keep your touch on the controls light.
- Let the image settle. After changing slides or objectives, wait a few seconds before judging sharpness.
- Use a lower objective when you can. Detail at 100× or 400× is often enough to answer a classroom question. If resolution is the goal and not just size, our guide on resolution versus magnification explains why pushing power further does not add detail.
- Take photos hands-free. With a smartphone adapter, use a timer or a remote shutter so you are not touching the phone when the picture is taken.
- Sit comfortably. A relaxed posture keeps you from leaning on the bench. The microscope ergonomics guide covers chair height, bench height and eyepiece position.
How much isolation do professional labs plan for?
Facilities express their needs with Vibration Criteria (VC) curves, which set permissible vibration velocity. According to Arizona State University's laboratory guidelines, a rating of 4,000 micro-inches per second is sufficient for standard labs, while the preferred level for high-resolution imaging is VC-A, 2,000 micro-inches per second. The most demanding electron microscopy is typically specified at far tighter levels.
The point for a teacher or hobbyist is scale. A light microscope on a stable bench in a normal room sits at the easy end of this range. You are solving a handling and placement problem, and a sound bench goes a long way.
If you do work at nanometer-scale precision, an engineering survey of the room is the right step before buying. Research on scanning electron microscopes shows that isolators are central to achieving the equipment's best performance, and matching one to the frequencies in your building takes measurement, not guesswork.

Our view: stable images start with a good instrument and a calm setup
We build compound microscopes for students, educators, hobbyists and laboratory professionals, and the most frequent frustration we hear about is an image that will not hold still. Our advice is consistent: fix the basics before you spend on accessories.
A well-built stand with a smooth mechanical stage and a controlled focus gives you less to fight. After that, set the microscope on a rigid surface, keep your hands light and test one change at a time. We publish setup videos, guides and manuals, and answer questions by email, because a microscope used well beats a more expensive one set up poorly. If a shimmering image persists after you have tried the steps here, write to us and describe your bench, floor and objective. We will help you find the cause.
We also believe in matching the tool to the job. Most classrooms and home labs do not need an active platform. A heavy bench, a sensible location and good technique will take you further.
Choosing a microscope that is easier to keep steady
When you are buying, look at the parts you touch and the way the stand is built: a smooth, controlled focus, a mechanical stage that moves without jolts, binocular viewing for comfort, and a firm base. Our compound microscopes with glass optics and advanced illumination are sold through our official Amazon store, and the Wevision microscope range shows the options for students, educators and labs. Our guides on microscope parts and functions and digital versus optical models can help you decide what suits you before you order. You can also start from the Wevision home page.
FAQ
Do I need an anti-vibration table for a student microscope?
Usually not. A heavy, level bench in a low-traffic room, plus careful handling, handles most classroom and home needs. Consider a damping pad or a stone slab if your floor is springy or the room is busy. Reserve air tables for high-resolution or camera-heavy work.
Can a pad make vibration worse?
It can. A pad that is too soft for the load, or stacked in several layers, can let the microscope rock. Passive isolators in general can also amplify vibration near their own resonant frequency, typically 1 to 3 Hz for air tables. Test the image before and after each change.
What is the difference between passive and active isolation?
Passive isolation uses mass, springs and damping with no power. Active isolation uses sensors and electronic feedback to counter motion. Passive works well for high-frequency noise and struggles at low frequencies, which is where active or hybrid systems help.
Why are my smartphone photos blurry when the eyepiece view looks fine?
A camera captures small motion that your eye averages out. Touching the phone, the adapter or the table during exposure all add blur. Use a timer or a remote shutter, wait for the image to settle and keep fans and chargers off the bench.
Is a granite slab worth it?
For a home or small lab setup, extra mass under the microscope can reduce the response to small disturbances, and it is a common low-cost step. It will not replace a proper isolation table for high-resolution imaging, and it works best on a rigid table and a solid floor.
Sources
- A review of isolation approaches for biophysics (News-Medical, 2022)
- Microscopy Today: isolated microscope setups and building design
- ORNL Advanced Microscopy Laboratory design (OSTI)
- NIH Facility Design Criteria for Electron Microscopes, Part I
- Leica EM UC6 manual (Drexel core facilities)
- Active air platform specifications
- Hybrid isolation, Review of Scientific Instruments
- Arizona State University laboratory guidelines
- Vibration control of scanning electron microscopes (PMC)
- Passive versus active isolation technical resources