
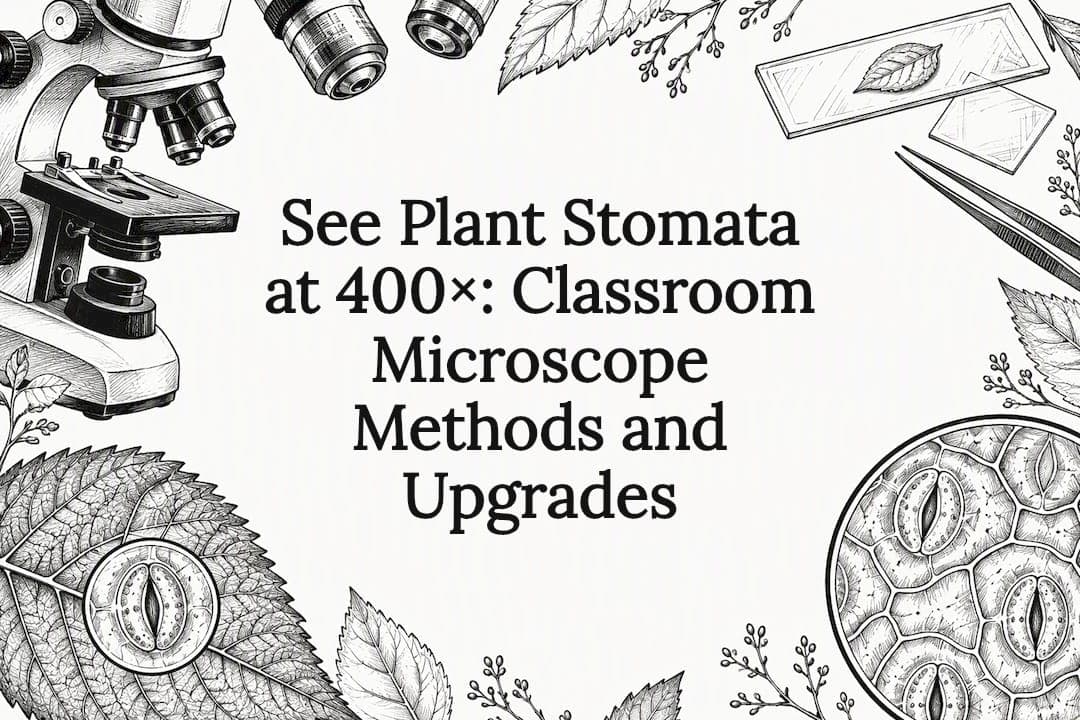
Yes, you can easily see stomata with a standard compound light microscope. Start with roughly 400× magnification using a 40× objective and 10× eyepiece, a clean glass slide, and a nail-polish impression or epidermal peel from the underside of a leaf. The sections below walk you through preparing, focusing, and documenting stomata step by step.
TL;DR:
- Most classroom microscopes with 40× objectives readily reveal stomata, guard cells, and pores at around 400× magnification.
- Preparing specimens with nail-polish impressions or epidermal peels allows non-destructive and clear observation of leaf surface structures.
- Focus stacking and manual adjustments improve image clarity when photographing living tissue, especially under green or monochromatic lighting.
- Guard cell shapes vary between plant groups, with bean-shaped in eudicots and dumbbell-shaped in grasses, aiding species identification.
- Quantitative experiments, such as counting stomata or comparing open versus closed pores under different light conditions, are effective and low-cost classroom activities.
Table of Contents
- What microscope and accessories do you need?
- Step-by-step specimen prep: impressions, peels, and clearing
- How to find, focus, and photograph stomata
- Identifying guard cells, pore, and species differences
- Reproducible experiments for classrooms and projects
- Fixes for common issues and best-practice checklist
- Wevision resources for stomatal observation
- Why stomatal observation is a meaningful lab activity
- Where to find a microscope built for this kind of work
- FAQ
- Sources
What microscope and accessories do you need?
A basic compound microscope with a 10× and 40× objective covers almost every classroom or hobbyist stomata project. Look for a mechanical stage, since it lets you move the slide in small increments without losing your spot once you find a stomatal cluster.
Illumination matters more than most beginners expect. Standard brightfield lighting works fine for fixed impressions and peels, but darkfield or monochromatic green light improves contrast and reduces glare when imaging living tissue, a technique used in portable in planta imaging systems.
Useful accessories include:
- Glass slides and coverslips for mounting peels and impressions
- Clear nail polish and clear tape for the impression method
- A fresh razor blade or scalpel for peels and leaf sectioning
- Stage clips to hold the slide steady during fine focusing
- A smartphone adapter for quick photo documentation
Budget scopes get you observation; premium optics and adjustable illumination get you sharper, more consistent images worth sharing or measuring.
Step-by-step specimen prep: impressions, peels, and clearing
Three preparation methods cover nearly every stomata project, and each suits a different situation.
- Nail-polish impression: Brush a thin, even layer of clear nail polish onto the leaf's underside, let it dry completely, then lift it off with a strip of clear tape. Mount the tape on a slide, trim the edges, and scan under low power before switching to 400×.
- Epidermal peel: Fold a thin leaf (like spinach or lettuce) and gently tear it to expose a transparent strip of epidermis, then mount that strip directly in a drop of water under a coverslip.
- Chemical clearing: For precise density or aperture measurements, soak leaf tissue in a mild sodium hydroxide solution to dissolve chlorophyll and reveal cell outlines more sharply, a method useful when quantifying results rather than just observing them.
The impression method is non-destructive and ideal for classrooms since it doesn't harm the plant, while peels work better on thin, delicate leaves that tear easily. Clearing involves a caustic chemical, so it calls for gloves and adult supervision.
Pro Tip: Apply nail polish in one thin, even pass. A thick layer traps air bubbles and ruins the impression.
How to find, focus, and photograph stomata
Stomata cluster more densely on the abaxial (lower) leaf surface in most plants, so start scanning there at low power before switching objectives. Move systematically across the slide in a grid pattern rather than scanning at random, which saves time once you've located a promising cluster.
Focus coarsely at low power first, then switch to fine focus at 400×. Stomata and the surrounding epidermal cells often sit at slightly different depths, so you may need to adjust focus repeatedly to see each clearly, as noted in research on leaf surface microscopy.
For sharper, fully focused images:
- Take several photos at slightly different focal depths
- Combine them using free focus-stacking software for one image with complete depth of field
- Use green or monochromatic light when imaging living tissue to improve contrast without disturbing stomatal behavior
- Adjust white balance and exposure manually rather than relying on automatic camera settings, which often wash out fine cell boundaries
Identifying guard cells, pore, and species differences
Once you're focused on a stomatal cluster, look for two curved or kidney-shaped guard cells flanking a central pore, called the aperture. Surrounding those are the ordinary epidermal cells, often irregular in shape, and you may spot small green chloroplasts inside the guard cells themselves under good lighting.

Guard cell shape differs by plant group. Eudicots like beans or tomatoes have bean-shaped guard cells, while grasses and other monocots have dumbbell- or barbell-shaped guard cells with thickened ends. This distinction helps you identify unknown leaf samples and illustrates how form follows function across plant lineages.

During opening, guard cells don't just change shape, they physically expand. In one study on Vicia faba, guard cell volume increased by about 24.8% and surface area by about 15% as the stoma opened, confirming that the aperture change reflects real, measurable shifts in cell geometry rather than a simple visual illusion.
Reproducible experiments for classrooms and projects
Stomatal counts and comparisons make strong, low-cost student projects because they produce real numbers from simple tools.
- Stomatal density: Take several impressions from the same leaf, count stomata within a fixed microscope field area, then convert to stomata per square millimeter using your field diameter; average at least three fields per sample for reliable results.
- Light vs. dark test: Take impressions from leaves exposed to light and from leaves kept in darkness for an hour, then compare the proportion of open versus closed stomata between the two samples.
- Species comparison: Repeat the density count on a grass leaf and a broadleaf plant, then compare counts and guard cell shapes side by side.
Record raw counts, calculate percent open per sample, and compare averages across conditions rather than relying on a single observation.
Fixes for common issues and best-practice checklist
Blurry or inconsistent images usually trace back to a handful of fixable problems. If your specimen shows uneven focus, take a quick z-stack of images at different depths rather than fighting with a single focus setting, since stomata and epidermal cells rarely sit on the exact same plane.
Tape glare and polish bubbles are the next most common complaints. A thinner polish layer dries faster and avoids trapped air, and trimming tape edges before mounting cuts down on stray reflections. Adjusting the condenser or diaphragm also reduces glare without needing new equipment.
If you're imaging live tissue, keep exposures brief and avoid intense light for extended periods, since strong illumination can alter stomatal behavior and skew your results.
- Confirm the slide and coverslip are clean and free of fingerprints
- Make sure the stage is steady and clips are secure before fine focusing
- Set the condenser aperture to match your objective's numerical aperture
- Check camera exposure and white balance before capturing final images
Pro Tip: When photographing live leaf tissue, work quickly and use dim light between shots to avoid triggering stomatal closure from heat or glare.
Wevision resources for stomatal observation
Our microscopes feature glass optics and adjustable illumination that support clear viewing of fine structures such as stomata, guard cells, and cell walls at magnifications suitable for classroom use. Setup videos, FAQs, and email support are available to assist users in mounting slides, adjusting the condenser, and attaching a smartphone adapter to replicate the described methods. If you're choosing optics or accessories for a specific stomata project, our resource library covers model-specific setup questions.
Why stomatal observation is a meaningful lab activity
Observing stomata connects microscopic anatomy directly to plant physiology and environmental science, since these pores govern gas exchange and water loss. Comparing species or testing light and dark conditions builds real experimental skill, not just viewing skill. For a future project, in planta imaging offers a way to watch stomatal movement on a living, attached leaf rather than a fixed sample.
Where to find a microscope built for this kind of work
Microscopes designed with appropriate optics, stable staging, and illumination control are recommended for stomata work, suitable for classroom labs or personal projects. When choosing any scope for this purpose, look for a quality 40× objective, a steady mechanical stage, adjustable brightfield or darkfield lighting, and a compatible smartphone adapter for documentation.

Browse our compound microscopes for students and labs to find a model that fits your stomata projects and classroom budget.
FAQ
Can you see stomata under a microscope?
Yes, a standard compound light microscope at around 400× magnification clearly reveals stomata on a leaf impression or peel. Guard cells, the pore between them, and surrounding epidermal cells all become visible at this power.
Can you show me a picture of stomata in plants?
We don't include photos directly in this guide, but a nail-polish impression viewed at 400× typically shows oval or dumbbell-shaped guard cells surrounding a central pore, set within a field of irregular epidermal cells. Searching "stomata microscope image" alongside your plant type will show comparable examples from botanical and educational sources.
How do stomata look in real life?
Under a microscope, stomata appear as small paired guard cells forming a pore in the leaf's outer surface, shaped like a bean in eudicots or a dumbbell in grasses. To the naked eye, individual stomata are far too small to see, since they're only visible once magnified.
What are stomata in plants?
Stomata are tiny pores in the leaf epidermis, each controlled by a pair of guard cells that open and close to regulate gas exchange and water loss through transpiration. They sit mostly on the lower leaf surface and respond to light, humidity, and internal water status.
What magnification do you need to see stomatal detail clearly?
A 40× objective combined with a 10× eyepiece, yielding about 400× total magnification, is sufficient to see guard cells and the stomatal pore clearly. Lower power is useful first for locating stomatal clusters before switching to higher magnification.