
Brightfield microscopy is the transmitted or reflected white-light technique that shows a darker sample against a bright, evenly lit background. It works best on stained tissue sections, blood smears, plant and algal cells, and opaque materials viewed in reflected mode. It struggles with live, unstained, transparent cells, where phase contrast, DIC, or darkfield illumination usually deliver a clearer picture.
TL;DR:
- Brightfield microscopy offers limited resolution around 200 nanometers, with magnification cap capped at approximately 1,300x due to diffraction constraints.
- Optimal image quality depends on proper Köhler illumination, matched NA between condenser and objective, and using immersion oil for high-NA objectives.
- It is most effective for stained or pigmented samples, but provides almost no contrast for live, unstained, transparent cells requiring phase contrast, DIC, or darkfield.
- Sample preparation involves careful fixation, thin sectioning, and staining, as contrast relies heavily on these steps happening before imaging.
- Regular maintenance, including cleaning optics, checking alignment, and avoiding dried oil, is essential for consistent, high-quality brightfield imaging.
Table of Contents
- How Does Brightfield Microscopy Work?
- What Parts Control Image Quality?
- Where Is Brightfield Microscopy Used?
- Is Brightfield Microscopy Right for Your Sample?
- Brightfield vs. Darkfield and Other Contrast Methods
- How Do You Set Up Köhler Illumination?
- How Do You Fix Common Imaging Problems?
- What Should You Remember About Brightfield Microscopy?
- How Should You Prepare Samples for Brightfield Viewing?
- What Artifacts Show Up in Brightfield Images and How Do You Avoid Them?
- How Do You Maintain and Calibrate a Brightfield Microscope?
- Teaching Brightfield Microscopy: A Classroom Note
- Finding the Right Microscope for Brightfield Work
- Sources
- FAQ
How Does Brightfield Microscopy Work?
In transmitted mode, light travels from the source through the condenser, up through the specimen, into the objective, and finally to your eyepiece or camera sensor. In reflected mode, common for opaque materials like polished metal or mineral sections, light bounces off the sample surface instead of passing through it before reaching the objective.
What limits how much detail you can actually see isn't magnification. It's resolving power, and that comes down to diffraction. Ernst Abbe worked out that resolution depends on wavelength and numerical aperture (NA), expressed as R = 1.22λ / (NA_objective + NA_condenser). Shorter wavelengths and higher NA values shrink the smallest resolvable distance between two points, which is why blue light resolves finer detail than red.
This is also why cranking up magnification past a certain point stops helping. Standard brightfield setups hit a practical ceiling around 1,300x magnification, governed by visible light's wavelength range and the NA achievable with standard optics.
A few things worth remembering about this light path:
- The condenser focuses light onto the specimen plane before it hits the sample.
- The objective's NA, not its magnification number, sets your resolution ceiling.
- Immersion oil raises achievable NA by matching the refractive index between slide and lens.
- Wavelength and NA together, not eyepiece power, determine how much fine detail you can actually see.
What Parts Control Image Quality?
Your microscope's optical performance hinges on a handful of components, and knowing what each one does saves you from blaming "bad optics" when the real issue is setup.
Condensers come in a few flavors. An Abbe condenser is fine for routine viewing, but an aplanat-achromat condenser corrects chromatic and spherical aberration, which matters if you're doing color photomicrography or need accurate color rendering for documentation.
Objective lenses carry two numbers stamped on the barrel: magnification and NA. The NA figure tells you the actual resolving power. Oil immersion objectives push NA above 1.0, but only when paired with matching immersion oil on the slide.
Other components that shape your image:
- LED light sources give consistent color temperature and run cooler than halogen bulbs, which drift as they age.
- The field diaphragm controls how much of the specimen area gets illuminated, limiting stray light and glare.
- The aperture diaphragm controls the cone angle of light entering the objective, directly trading contrast against resolution.
- Color correction filters (often blue) help normalize halogen output to match daylight color balance.
Where Is Brightfield Microscopy Used?
Brightfield earns its place in classrooms and labs because so many standard sample types are already suited to it: stained, thin, and reasonably opaque.
Pathology labs rely on it constantly for stained tissue sections, where hematoxylin and eosin staining creates enough contrast to spot abnormal cell structures during diagnosis. Hematology technicians use it for blood smears, counting and classifying white cells during a differential count. Botanists and phycologists look at pigmented plant and algal cells, where chlorophyll and other natural pigments provide contrast without any staining at all.
Common applications you'll run into:
- Diagnostic histology and cytology slides in clinical and teaching labs.
- Blood smear analysis for differential white cell counts.
- Plant cell structure studies using naturally pigmented tissue.
- Metallography and materials science, using reflected brightfield on polished, opaque samples.
Is Brightfield Microscopy Right for Your Sample?
Brightfield's biggest strength is how little it demands of you. No specialized optics, no polarizers, no phase rings, just a light source, a condenser, and an objective. It renders color faithfully, which matters when you're documenting stained tissue or comparing pigmentation across samples. It's also the most affordable and widely available microscopy mode, which is exactly why it dominates teaching labs and routine clinical work.
The catch is contrast. Live, unstained, transparent specimens barely absorb light, so brightfield produces almost no visible contrast on cells like these. Staining fixes that, but staining usually kills the cell, so it's not an option when you need to watch living behavior.
Keep these trade-offs in mind:
- Resolution tops out around 200 nanometers at best, set by visible light's wavelength and achievable NA.
- Pushing magnification past the resolution limit produces "empty magnification": a bigger, blurrier image with no new detail.
- Unstained, transparent samples need an alternative contrast method, not more light or magnification.
Brightfield vs. Darkfield and Other Contrast Methods
When brightfield microscopy falls short on transparent, unstained samples, three alternatives usually fill the gap, each converting some property of light that the eye cannot otherwise see into visible contrast.
Phase contrast uses an annulus and a matching phase plate to convert tiny phase shifts, caused by differences in refractive index inside a cell, into amplitude differences you can actually see. It's excellent for live cell cultures, though it does introduce halo artifacts around edges that can mislead you about a structure's true boundary.
Differential interference contrast (DIC), also called Nomarski contrast, splits light into two polarized beams with a small offset, then recombines them to create relief-like, high-contrast images with real optical sectioning. DIC avoids the halo problem entirely, but it needs polarized light components and works best on relatively thin, transparent specimens.
Darkfield illuminates the sample with a hollow cone of light that misses the objective entirely unless it scatters off something in the specimen. That makes it a strong choice for small particles, unstained bacteria, or anything you want to see moving against a black background, since even faint scattering shows up as a bright signal.
Here's the practical rundown:
- Choose phase contrast for live, unstained cell cultures where halos are tolerable.
- Choose DIC when you want sharp edge detail and no halo artifacts, especially for thin, transparent samples.
- Choose darkfield for small particles or motile organisms where scattered light is the whole point.
- Choose brightfield when your sample is already stained, pigmented, or opaque.
How Do You Set Up Köhler Illumination?
Köhler illumination is the standard practice for even lighting, maximum resolution, and minimal glare, and it's worth learning properly the first time rather than eyeballing your setup every session.
- Place your specimen on the stage and focus it sharply using a low-power objective.
- Close the field diaphragm until you see its edges as a small, defined circle in the field of view.
- Adjust the condenser height and centering screws until that circle appears sharp and centered.
- Open the field diaphragm until its edge just disappears past the edge of your field of view.
- Adjust the aperture diaphragm to roughly 70 to 80% of the objective's NA, balancing contrast against resolution.
Start alignment with a 10x objective rather than jumping straight to high power. It gives you a wider working distance and a lower risk of crashing the objective into the slide while you're still learning the condenser controls. Match your condenser's NA to your objective's NA as closely as possible, since a mismatched condenser caps your resolution regardless of how good the objective is. For color-critical work, a blue daylight filter over a halogen source keeps your color rendering consistent from session to session.
Pro Tip: Closing the aperture diaphragm too far to "boost contrast" is the single most common student mistake. You gain contrast but lose resolution and can introduce diffraction artifacts around edges, so treat that diaphragm as a fine adjustment, not an on/off switch.
How Do You Fix Common Imaging Problems?
Uneven illumination or a dark ring around your field of view (vignetting) almost always traces back to a mis-centered or mis-focused condenser. Redoing your Köhler alignment from scratch fixes the vast majority of these cases faster than fiddling with the light source.
Low contrast on an unstained sample calls for a different fix depending on whether the cells are alive. Close the aperture diaphragm slightly for a quick improvement, but switch to phase contrast or DIC if the sample needs to stay living.
Dust specks and dark artifacts usually sit on a filter, the condenser lens, or the objective front element rather than in the specimen itself. A careful inspection and cleaning, working through each optical surface one at a time, isolates the source quickly.
What Should You Remember About Brightfield Microscopy?
Brightfield suits stained or naturally pigmented thin samples, and it stays simple and reproducible once you've mastered it. Köhler illumination and matched NA settings are what separate a sharp image from a mediocre one. Reach for phase contrast, DIC, or darkfield when your sample is alive, unstained, and transparent.
How Should You Prepare Samples for Brightfield Viewing?
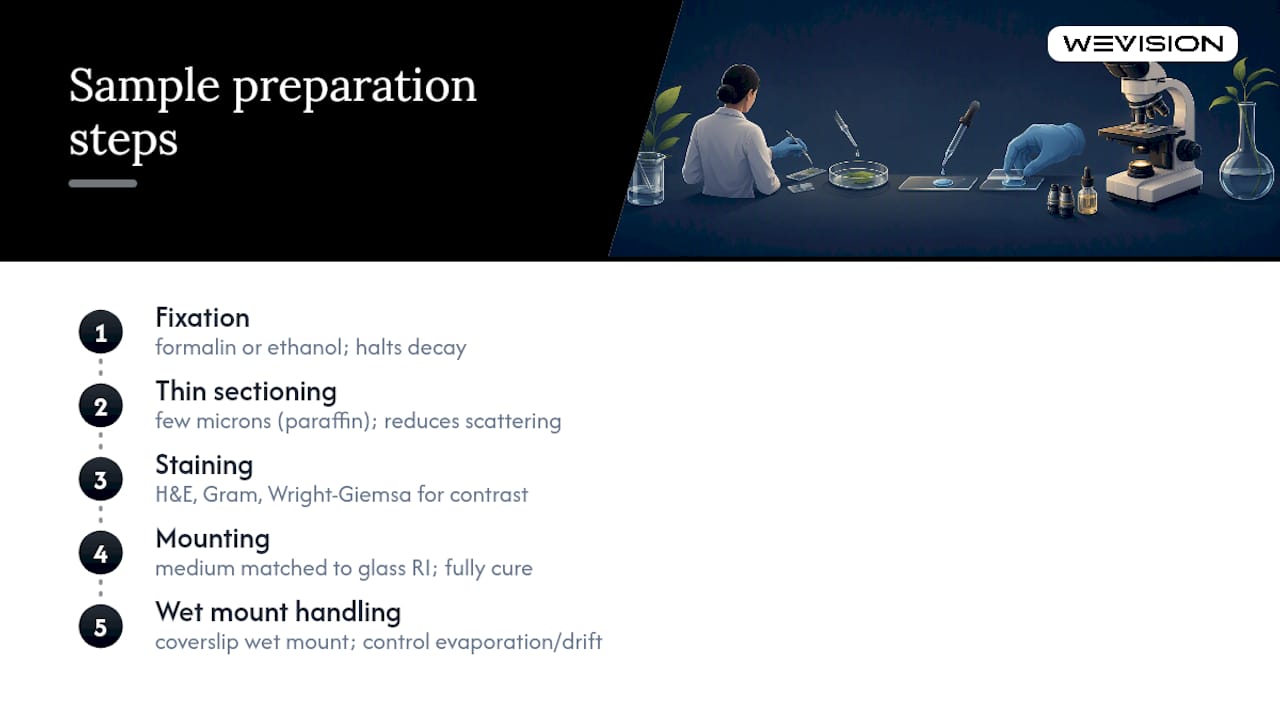
Sample prep is where most brightfield image quality gets decided, long before light ever reaches the condenser. Fixation comes first for most biological tissue: a fixative like formalin or ethanol denatures proteins and halts decay, locking cell structures in place so they survive sectioning and staining without collapsing or distorting.
Thin sectioning matters just as much as fixation. Brightfield depends on light passing through the specimen, so tissue needs to be thin enough, typically a few microns for paraffin-embedded sections, to let light through without excessive scattering that muddies contrast.
Staining supplies the contrast brightfield can't generate on its own. Hematoxylin and eosin remains the standard combination for general tissue histology, staining nuclei blue-purple and cytoplasm pink. Gram staining separates bacterial types by cell wall structure, essential for microbiology work. Wright-Giemsa staining differentiates blood cell types for hematology smears, letting you tell lymphocytes from neutrophils at a glance.
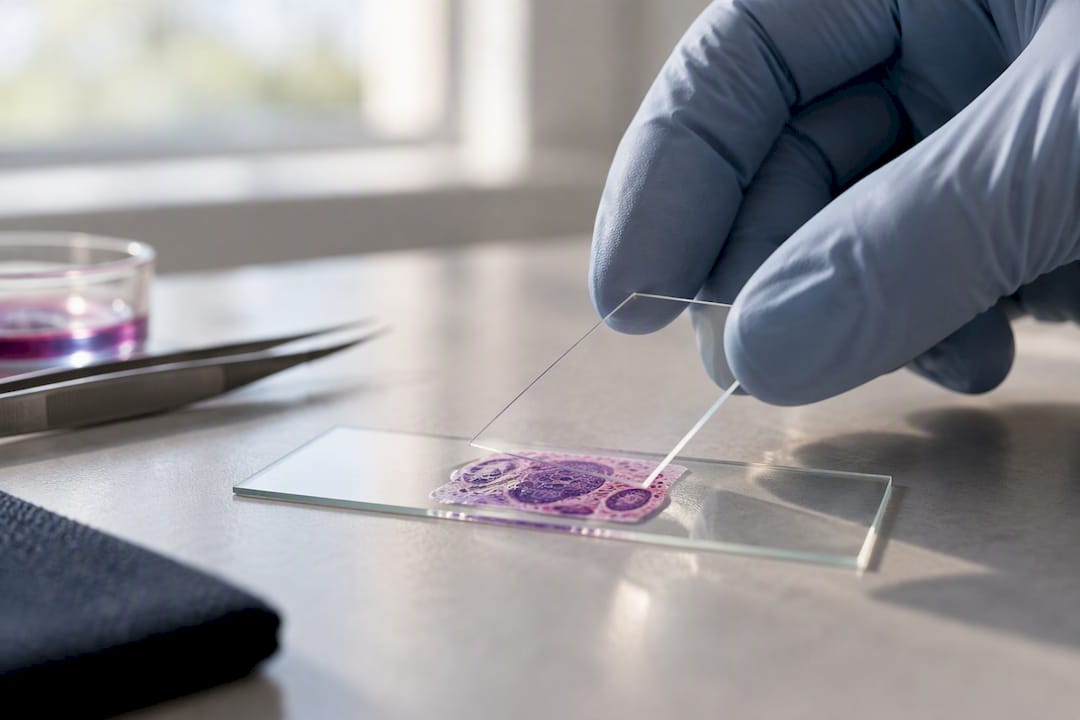
Mounting is the last step that often gets rushed. A mounting medium with a refractive index close to glass minimizes light scattering at the coverslip interface, and it needs to cure properly before you image, or you'll see swirling artifacts from incomplete curing. For live, wet samples that won't be stained, a simple wet mount with a coverslip works, though you'll need to manage evaporation and drift during longer observation sessions. Getting fixation, sectioning thickness, and staining right up front saves you from chasing phantom optical problems that are actually preparation issues.
What Artifacts Show Up in Brightfield Images and How Do You Avoid Them?
Most brightfield artifacts trace back to either preparation or alignment, and learning to recognize the patterns saves you from misreading an artifact as a real structure.
Diffraction fringes show up as thin bright or dark lines around sharp edges, a natural consequence of the resolution limits discussed earlier. They intensify when the aperture diaphragm is closed too far, so if fringing looks excessive, open it slightly and see whether the fringe softens.
Staining artifacts include precipitate specks from incompletely dissolved stain, uneven staining from inconsistent timing, and color bleeding when sections sit in stain too long. These usually look mottled or clumped rather than following any cell structure, which is the tell that separates artifact from biology.
Dust and debris on any optical surface, whether it's the eyepiece, objective, condenser, or the slide itself, appears as out-of-focus dark spots or fibers that don't move when you shift the stage. Rotating the eyepiece is a fast diagnostic: if the spot rotates with it, the dust is on the eyepiece, not the specimen.
Air bubbles trapped under the coverslip during mounting show up as sharp-edged circular or irregular voids with a distinct bright rim, easy to confuse with actual vacuoles at low magnification until you notice the perfectly circular edge.
Chromatic fringing, colored halos around high-contrast edges, points to an uncorrected or lower-grade objective, and switching to an achromatic or apochromatic lens usually resolves it. Remounting a slide, re-staining with fresh reagents, and cleaning optics systematically resolve the majority of artifacts you'll encounter.
How Do You Maintain and Calibrate a Brightfield Microscope?
A brightfield microscope holds its performance for years with basic, consistent care, but skipping maintenance shows up fast as blurry images and frustrated troubleshooting sessions.
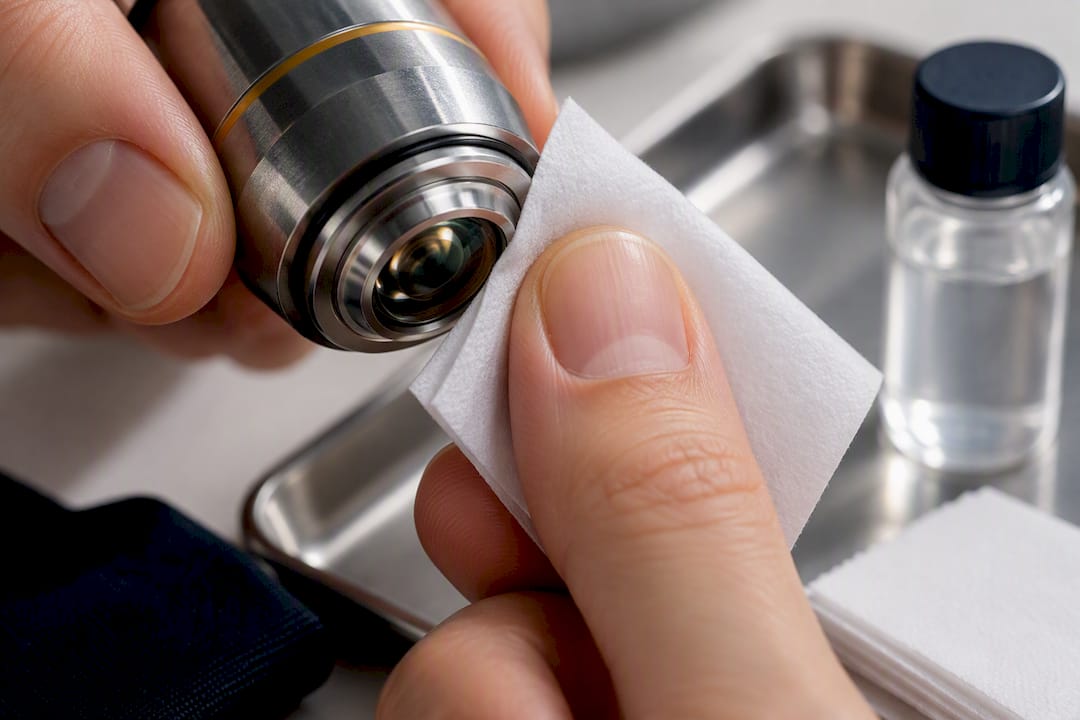
Clean optics after every session, or at minimum weekly under regular classroom use. Use lens paper and proper lens cleaning solution on objectives and eyepieces, never a shirt sleeve or paper towel, which can scratch coated glass. Wipe immersion oil off the objective immediately after use since dried oil is far harder to remove and can etch the lens coating over time.
Check bulb alignment and condenser centering periodically, especially after the microscope has been moved or bumped. A condenser that's drifted out of center produces the uneven illumination and vignetting covered earlier, and a five-minute recheck of Köhler alignment catches this before it becomes a recurring complaint.
Inspect the stage mechanism and focus knobs for smooth movement. Gritty or sticking focus controls usually mean dust has worked into the rack-and-pinion mechanism, and a light dusting with a soft brush around the mechanism (never oil directly on gears meant to stay dry) keeps things moving cleanly.
Store the microscope covered, in a dry environment away from direct sunlight, when it's not in use. Humidity is the fastest way to grow fungus on internal optical elements, a slow but serious form of damage that shows up as hazy, low-contrast images that no amount of realignment will fix. A quarterly check of bulb brightness, condenser centering, and stage smoothness catches small issues before they become bigger repairs.
Teaching Brightfield Microscopy: A Classroom Note
Guided alignment exercises beat lecture every time. Wevision's video demonstrations give students a visual reference for Köhler alignment and staining technique they can pause and replay. Schedule short, focused lab sessions on just those two skills before moving to full specimen work.
— Oliver
Finding the Right Microscope for Brightfield Work
If you've made it this far, you already know that good brightfield results depend as much on your instrument as your technique. Premium compound microscopes with glass optics and adjustable illumination help ensure that Köhler alignment, condenser centering, and objective switching work the way the theory says they should, rather than fighting cheap plastic components that drift out of adjustment.
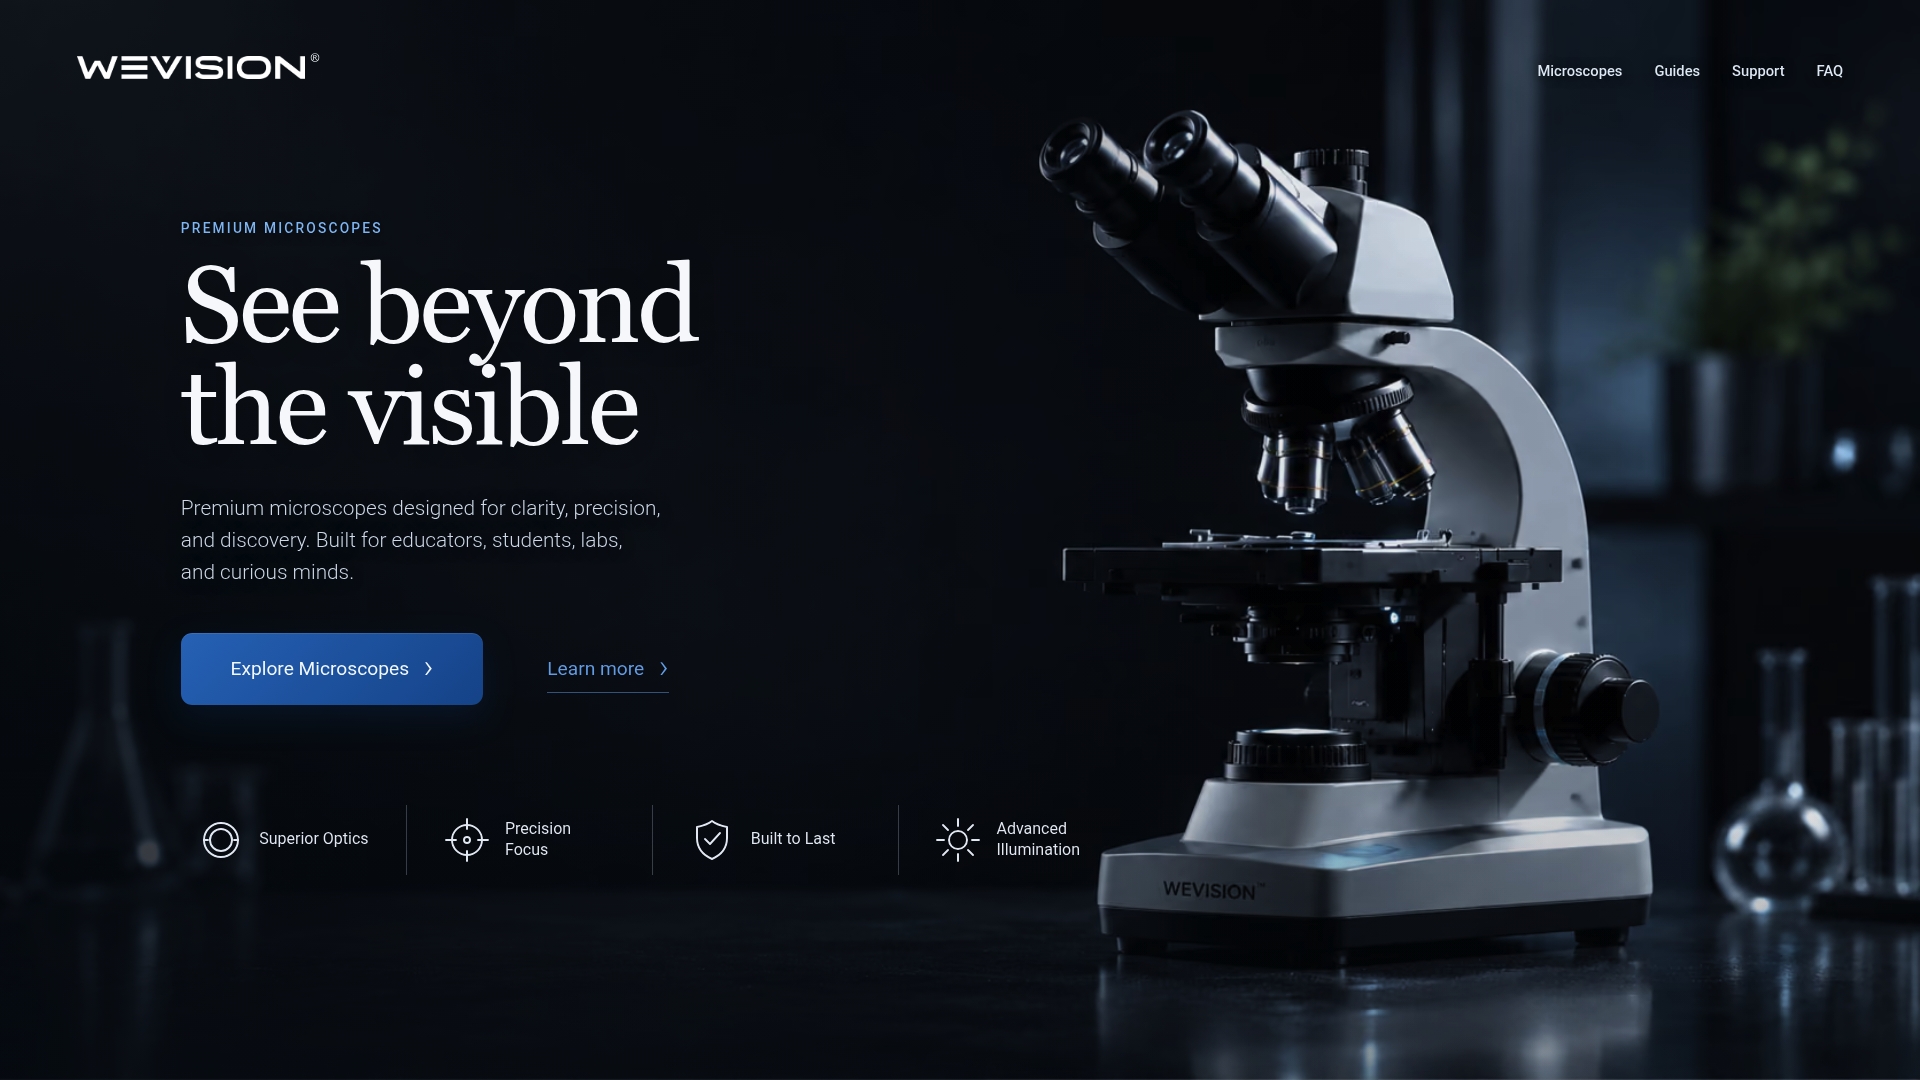
What sets some premium microscope providers apart isn't just the optics. Some offer video demonstrations and setup guides that walk you through condenser alignment and staining technique step by step, plus responsive email support when something doesn't look right under the lens. That combination matters most for educators building a curriculum around hands-on lab work and for students learning alignment for the first time. Browse the full compound microscope lineup to compare models by objective range and illumination type, or start with the Wevision M1 Binocular Compound Microscope, built for 40x to 2500x work with the resolution headroom this article has covered throughout. Visit Wevision to explore the full catalog and setup resources before you buy.
Sources
- Chapter 7 — Lenses & Resolution (UNC Microscopy)
- Brightfield Techniques (Institute for Molecular Bioscience)
- Phase, DIC and Darkfield overview (Weizmann Institute teaching slides)
FAQ
What Is Brightfield Microscopy Used For?
Brightfield microscopy is used for viewing stained or naturally pigmented specimens where the sample absorbs light and appears dark against a bright background. Common uses include diagnostic histology and blood smear analysis, plant cell study, and reflected-light metallography on opaque materials.
What Is Bright Field Microscopy?
Bright field microscopy is the simplest and most common light microscopy technique, passing white light through or reflecting it off a specimen to form an image where the sample appears dark against an illuminated background. It relies on the sample absorbing or blocking light rather than converting phase differences into contrast, which is why unstained transparent cells show up with almost no visible detail.
What Is the Difference Between Brightfield and Darkfield Microscopy?
Brightfield illuminates the sample directly, producing dark features on a bright background using absorbed light. Darkfield instead uses a hollow cone of light that only reaches your eye after scattering off something in the specimen, so the background stays black and only the scattered light shows up bright, which makes it far better suited for viewing tiny particles or motile bacteria than standard brightfield.
Is a Brightfield Microscope the Same as a Light Microscope?
A brightfield microscope is one specific type of light microscope, and it's the most common configuration you'll encounter in classrooms and routine labs. "Light microscope" is the broader category that also includes phase contrast, DIC, and darkfield configurations, all of which use visible light but manipulate it differently to generate contrast. A microscope like the Wevision M2 ships configured for brightfield use out of the box, with the option to add accessories for other contrast methods later.